Document Definitions
The Weaver WMS warehouse program allows you to define document definitions. This makes it possible to logically organize documents and create separate numbering systems for them.
Below is an example of using document definitions and permissions for a scenario where a company has two production departments. Department A is responsible for producing barcode readers, and Department B is responsible for producing label printers. These departments should have separate numbering systems for production documents and should not see each other's documents.
First, you need to add document definitions for each department. To do this, go to the Settings tab, select the Document Definitions option, search for [ZP] Production Orders, and then go to Derived Definitions. You can then add derived definitions. In this example, we add two derived definitions: Readers and Printers.
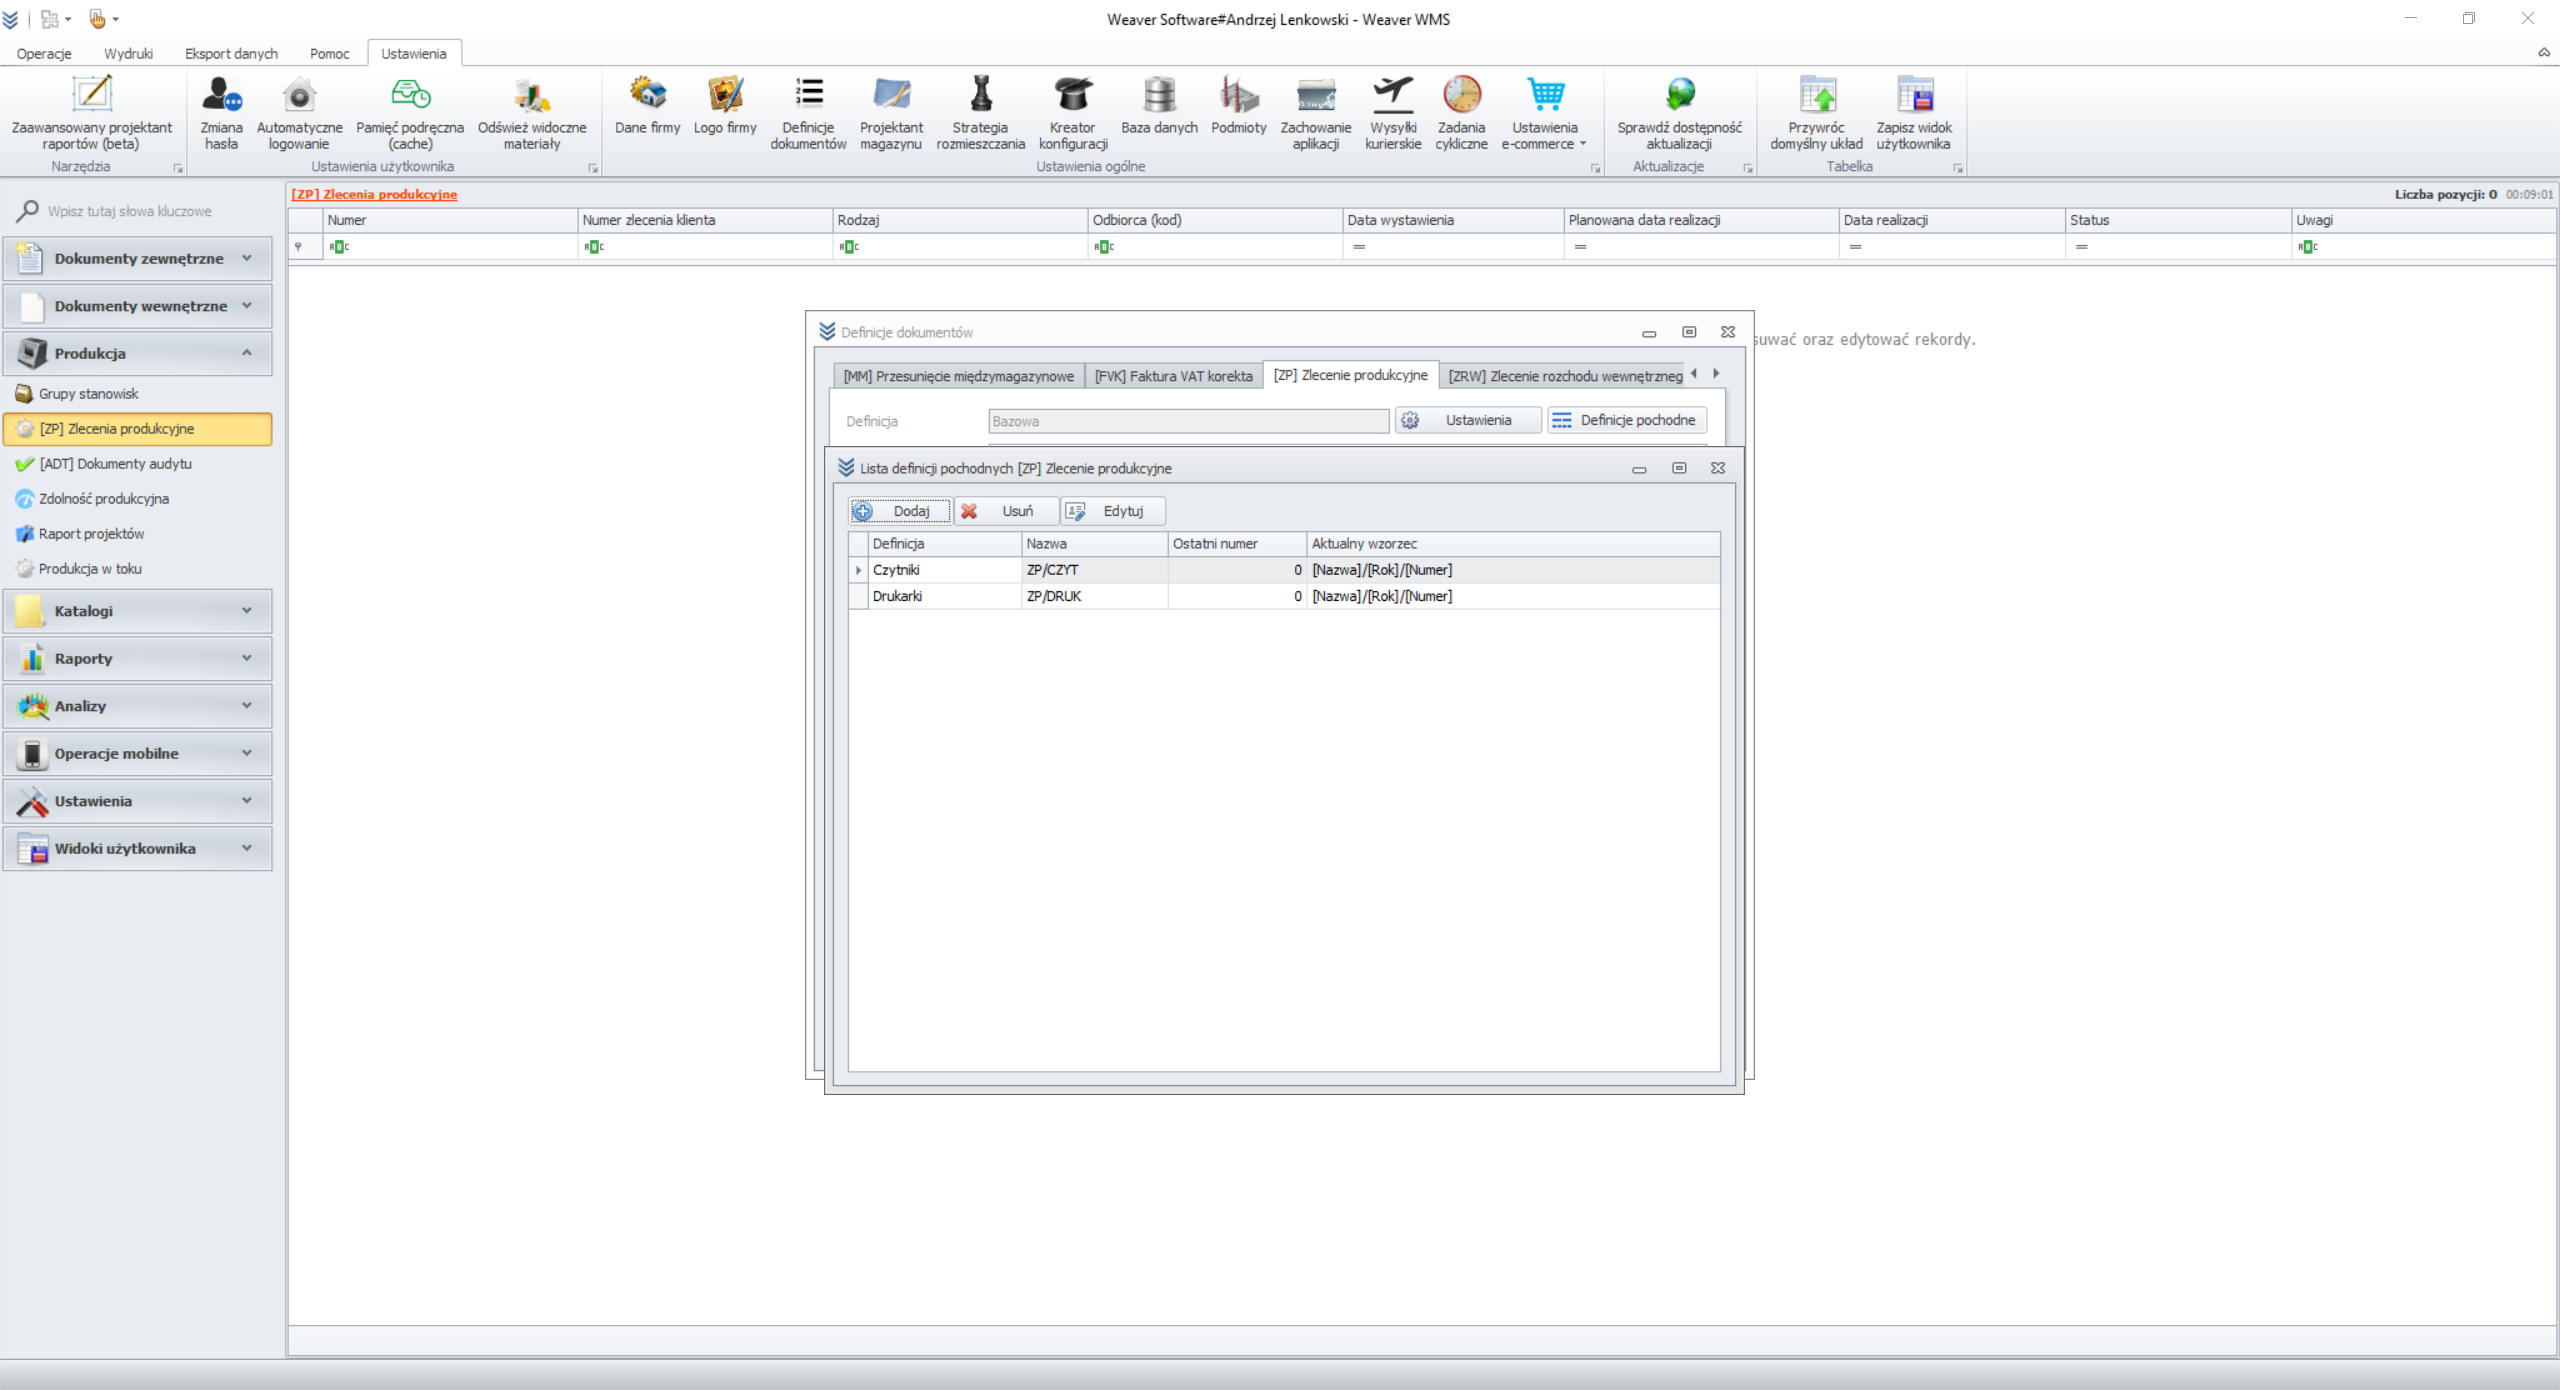
Derived Definitions
The next step is to define permissions for document definitions. To do this, go to the Users view. After selecting a User, choose the Document Definitions option from the Operations menu at the top. In the document definitions view, you can configure the visibility of individual definitions.
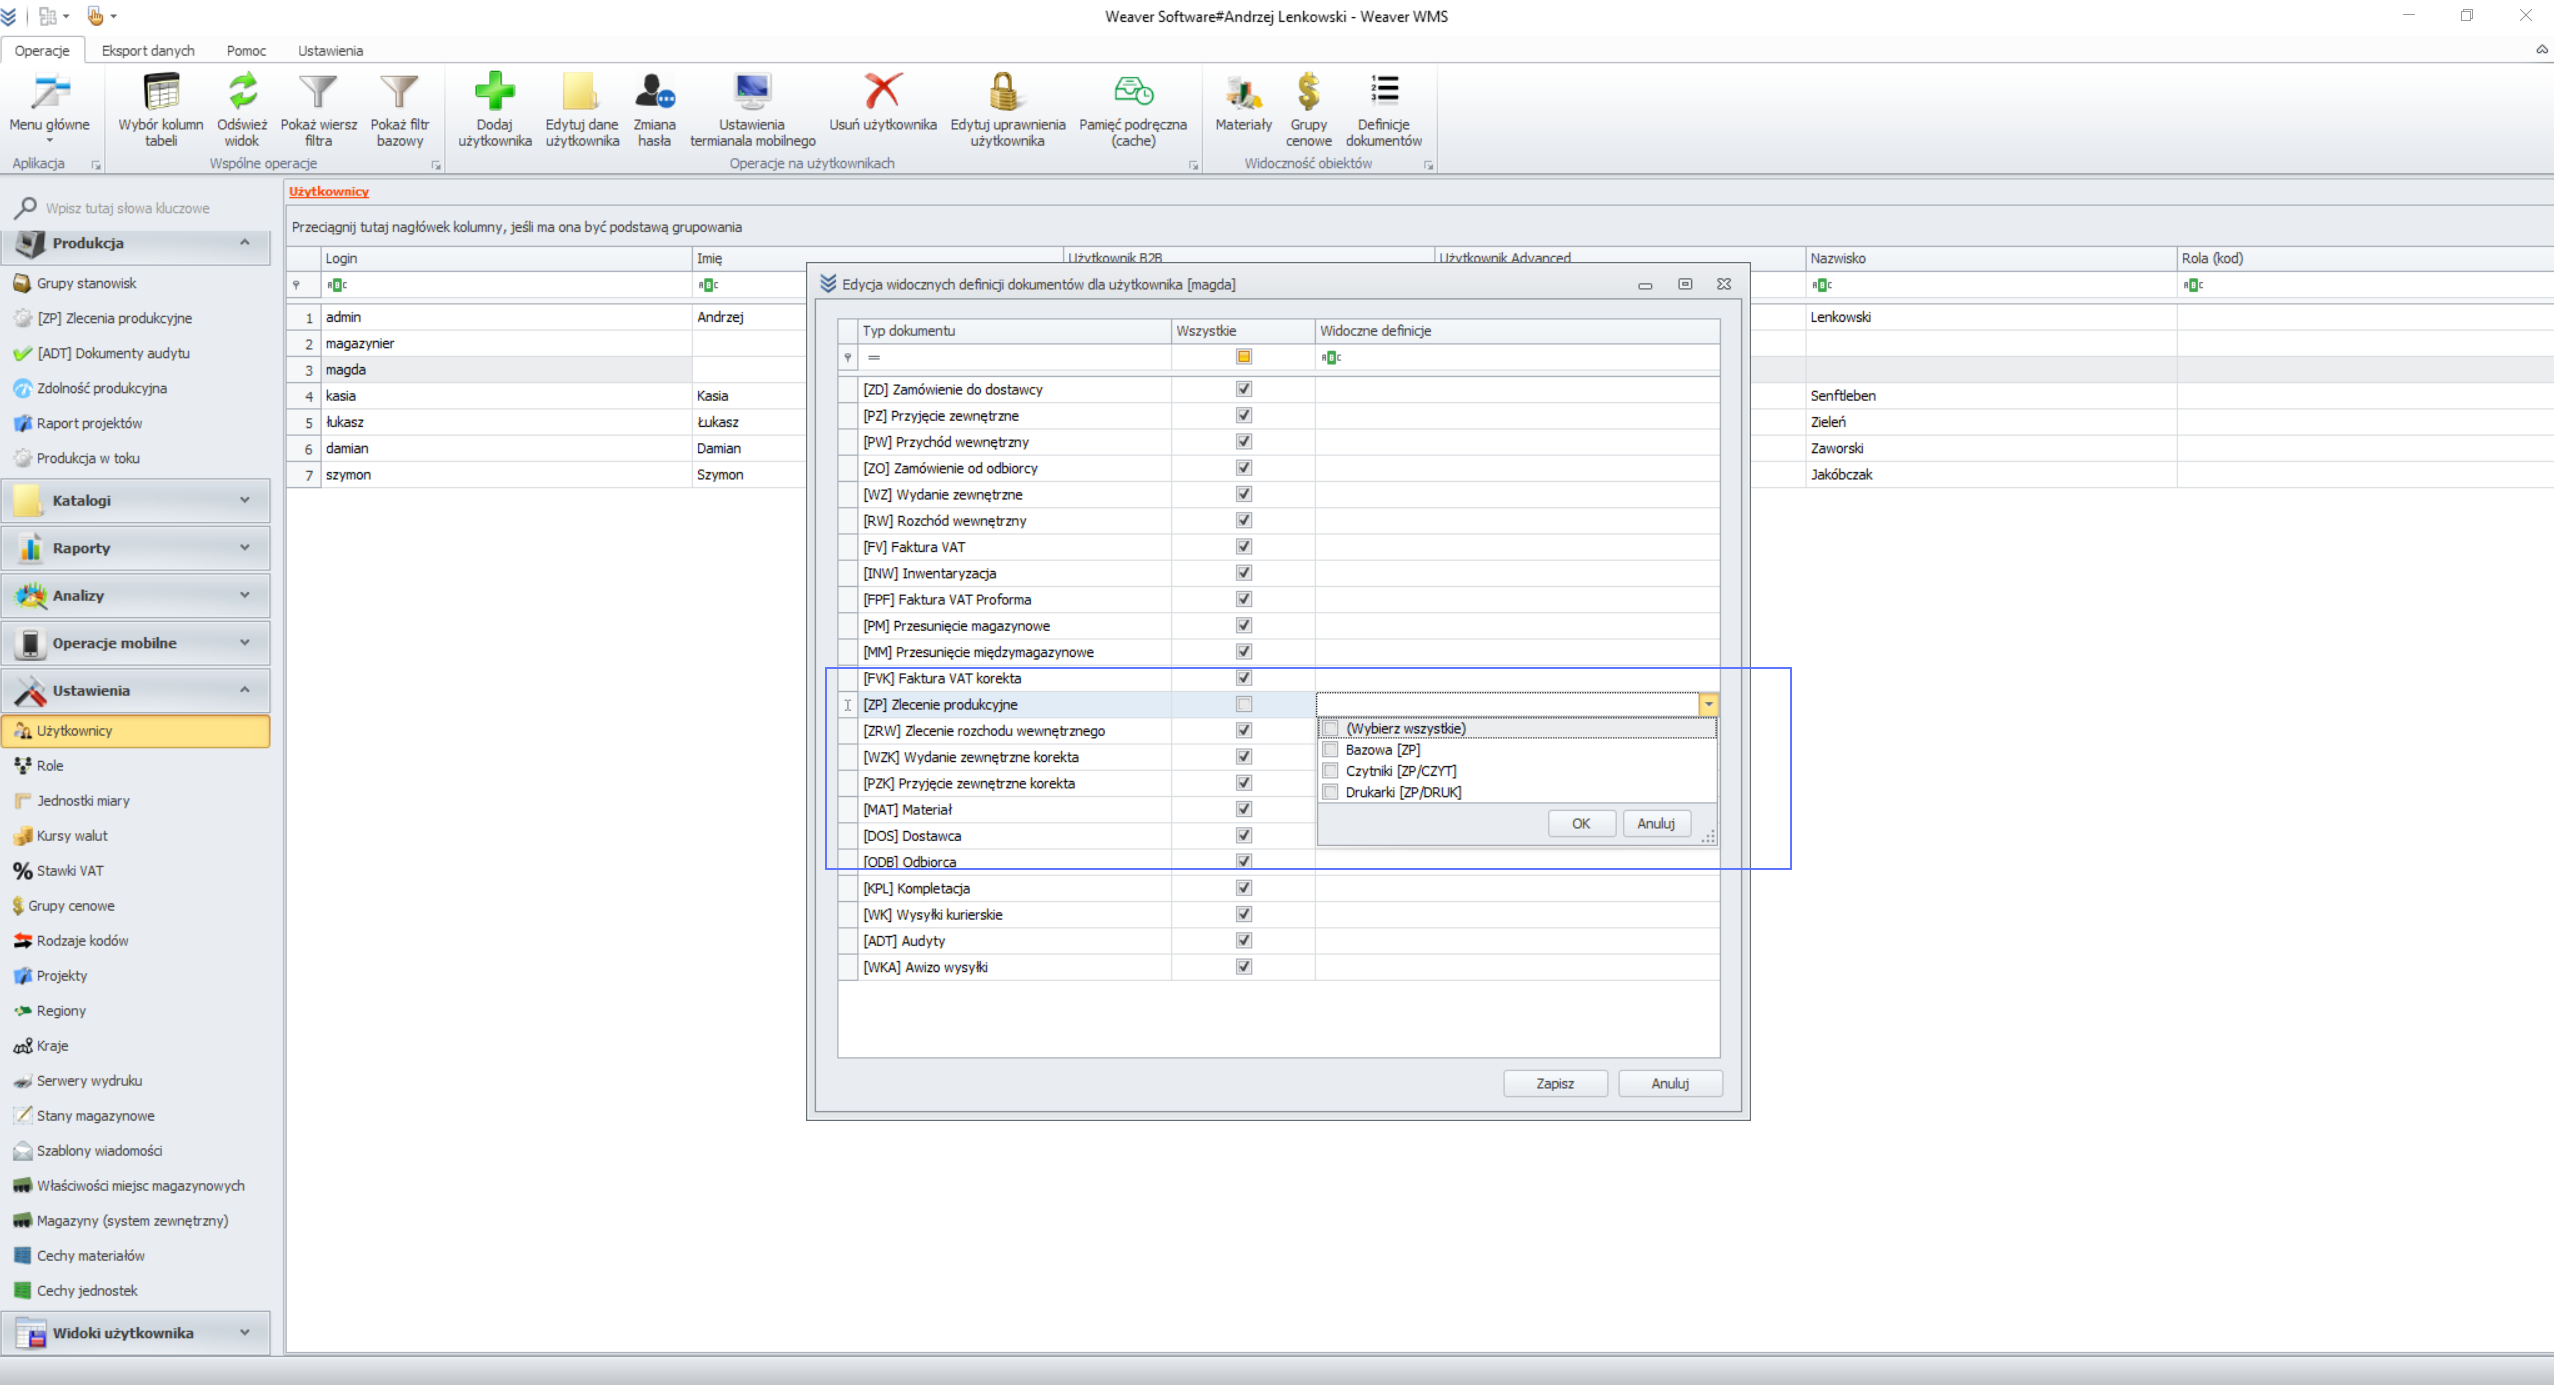
Permissions for Document Definitions
Once permissions are set, the user will have access only to selected definitions, both in the document creation window and on the list of all documents.
Settings
To change the settings in the system, follow a few simple steps. First, select the appropriate document in the tabs (e.g., External Receipts, as shown in the screenshot below). Then, click the Settings option, which allows access to the document configuration.
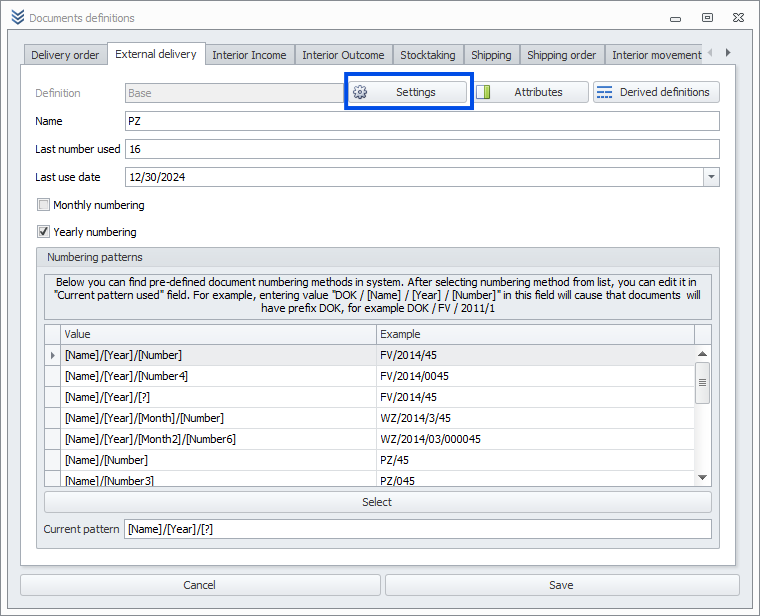
General Settings
The General Settings section includes the following options:
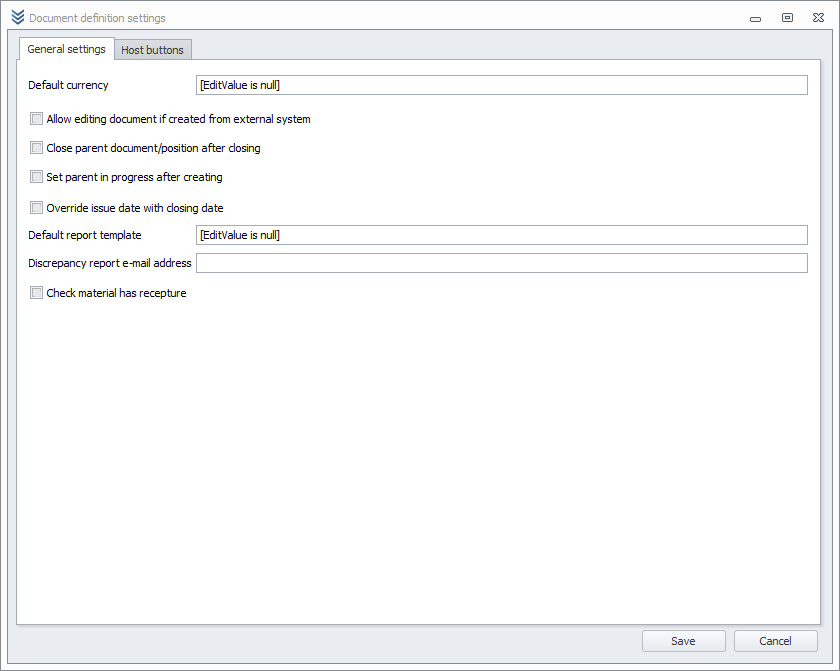
- Default currency
- Allow editing the document from an external system
- Close the parent document/position after closing the document
- Set parent document as "in progress" after creating
- Overwrite issue date with closing date
- Default report template
- Discrepancy reports email address
- Check material has recepture
Host Buttons
Adding and Removing Host Buttons
To manage host buttons, go to the Host Buttons tab. These buttons are additional options that can be used while working with documents. They can automate specific operations or add features to speed up daily tasks.
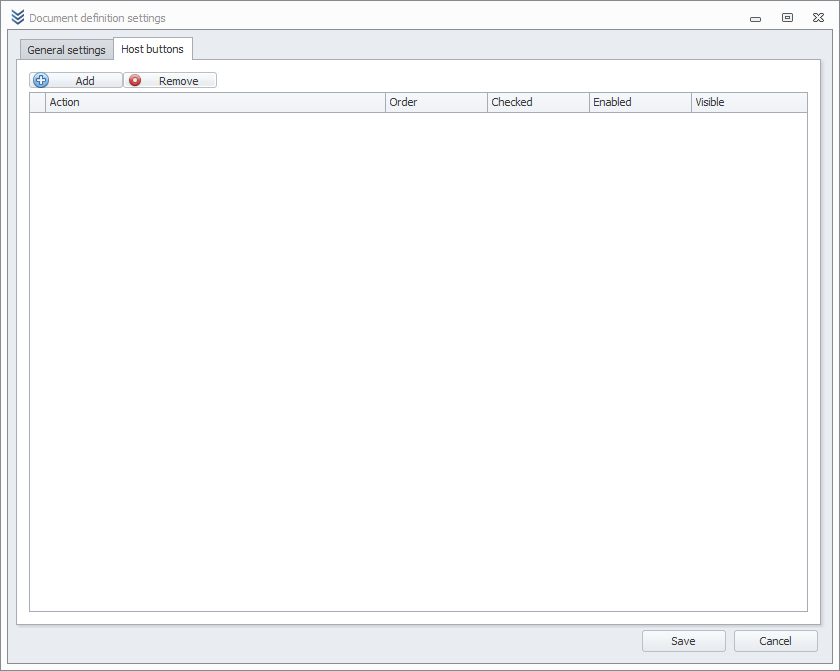
In this tab, you can:
- Add new host buttons – select the buttons you want to be available.
- Remove unnecessary buttons – decide which buttons are no longer needed and delete them.
After making changes, click Save to save the settings.
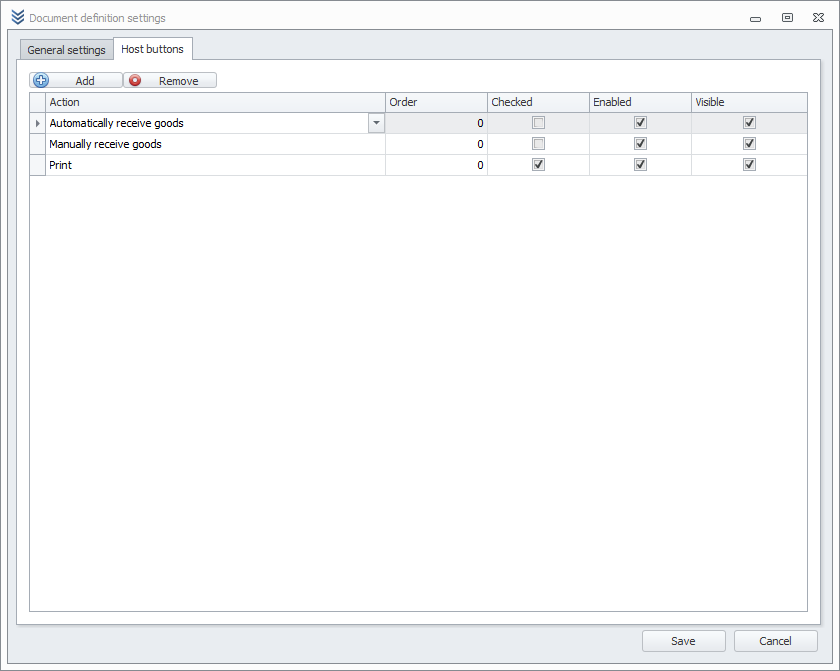
Verifying Added Buttons
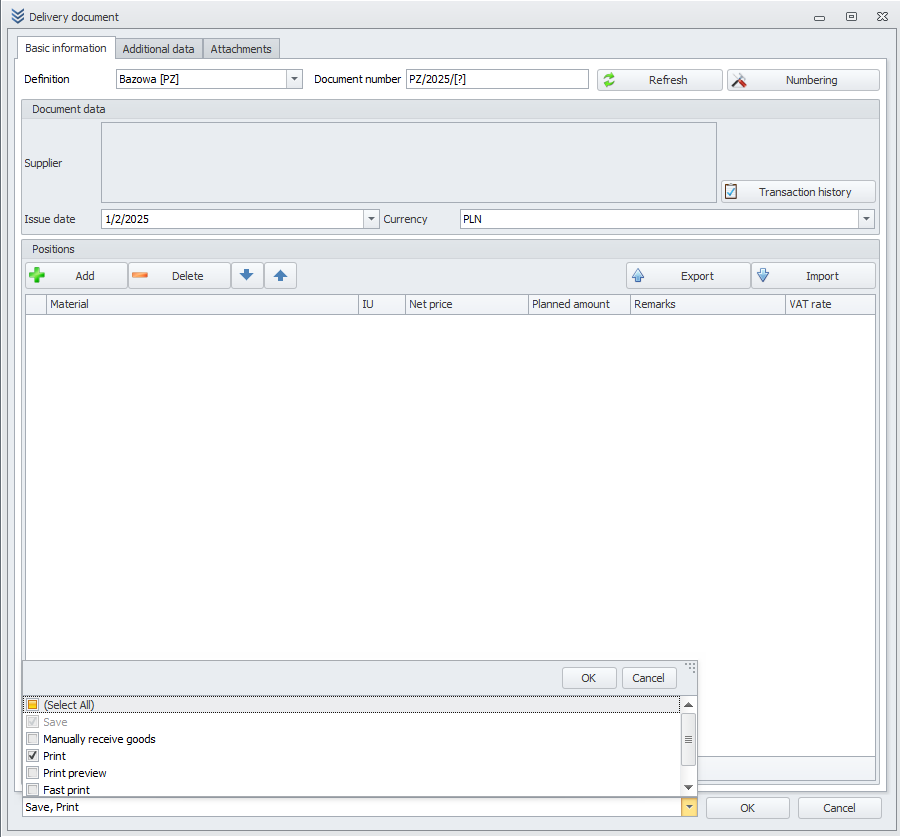
After saving the changes, you can verify whether the new buttons have been successfully added to the system. Check if they are visible in the options available when saving the document. This ensures that all settings are working as intended.